


This documentation provides a step-by-step guide to create an Amazon Elastic Kubernetes Service (EKS) cluster using Terraform, highlighting the inclusion of the IAM user.
Prerequisites Required Tools:
• Terraform installed on your local system.
• AWS CLI configured with your credentials.
Step 1: Prerequisites
Ensure the following are in place before you start:
- Terraform: Installed on your system. (Download Terraform). (https://developer.hashicorp.com/terraform/install)
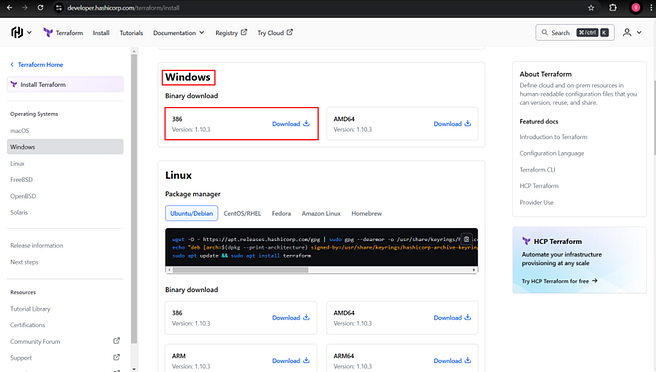
It will download a zip file. Create a folder on the C drive as C:/terraform. Download the zip file in this folder. Unzip the file to extract the .exe file.
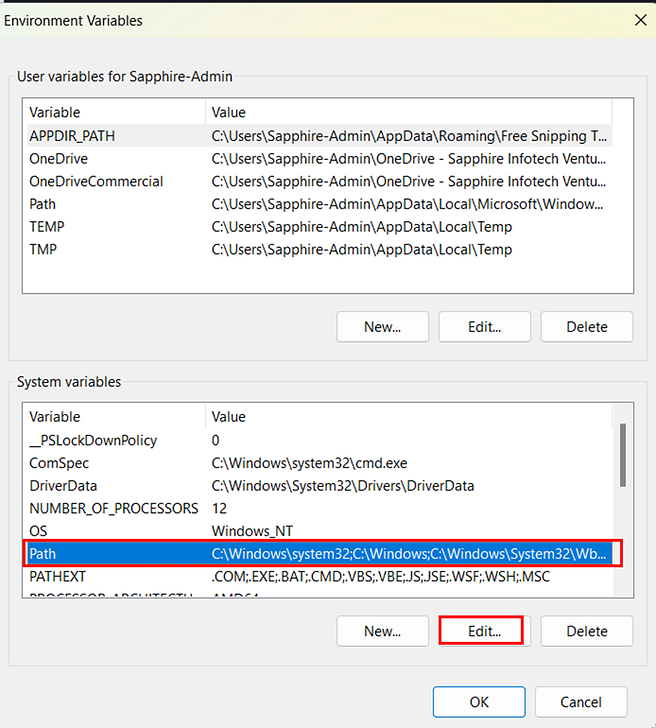
Update Path Environment Variable
Next open the Start menu and search for Environment variables. Open the Environment variables settings page.

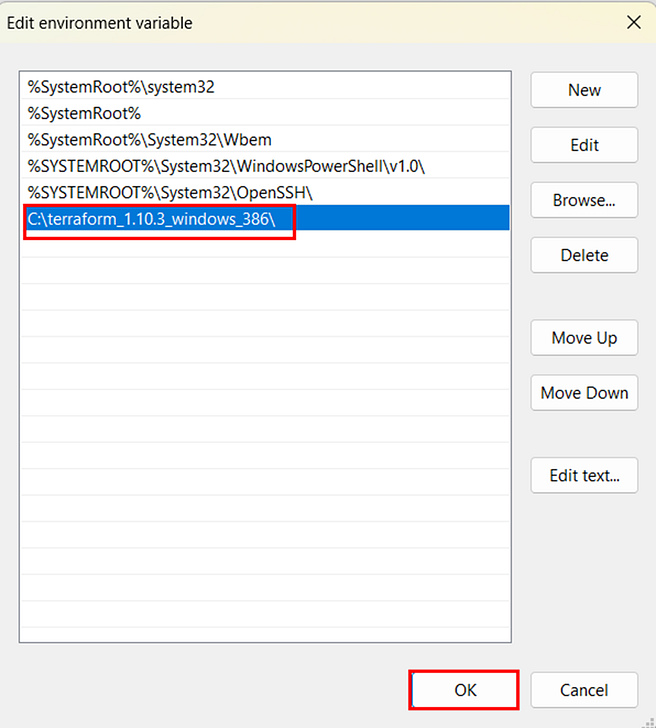
On the Environment variables edit page, open the Path variable as shown below:
Click OK on the above window to save the Path variable addition. If needed, restart your system to apply the variable changes.
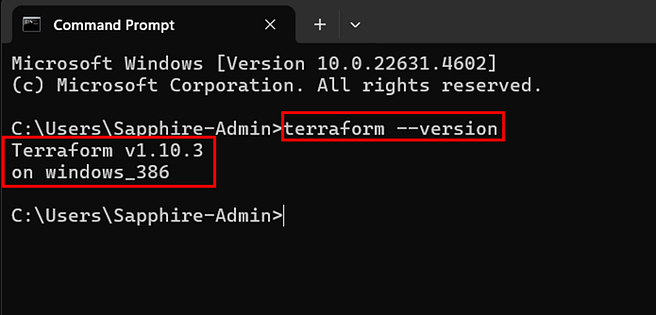
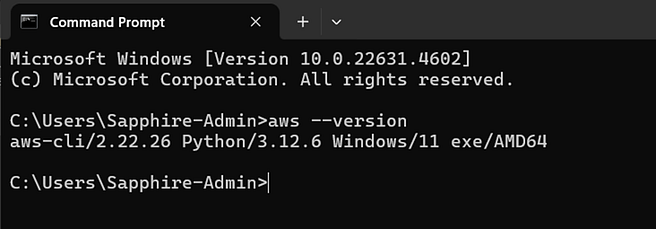
Open a Command prompt and run this command to verify Terraform is installed successfully:
2. AWS CLI: Installed and configured with proper IAM credentials. (Install AWS CLI). (https://docs.aws.amazon.com/cli/latest/userguide/getting-started-install.html)
3. AWS Account: An active AWS account with necessary permissions to create EKS clusters, VPCs, and IAM roles.
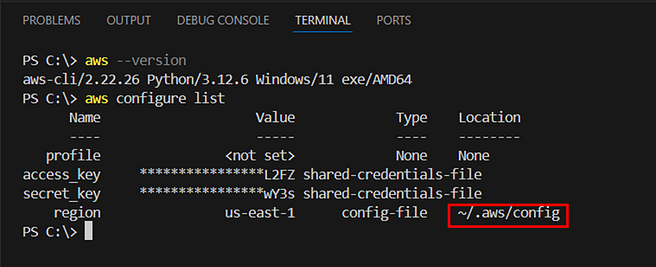
Configure your credential in terminal
Step 2: Folder Structure
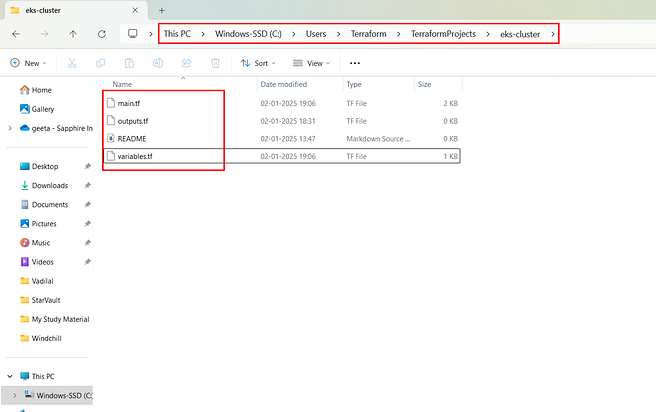
eks-cluster/
├── main.tf # Core Terraform configuration file where AWS resources are defined, such as the EKS cluster, node groups, and networking components.
├── variables.tf # File containing input variable definitions to make the Terraform configuration flexible and reusable for different environments or settings.
├── outputs.tf # File defining outputs to display key information about the EKS cluster (e.g., cluster name, endpoint, ARN) after the infrastructure is created.
└── README.md # Documentation file to provide an overview of the project, prerequisites, setup instructions, and usage guidelines for users.
Step 3. Terraform Script Overview
Main.tf
provider “aws” {
region = var.aws_region
}
# Create a VPC resource “aws_vpc” “eks_vpc” { cidr_block = var.vpc_cidr_block enable_dns_support = true enable_dns_hostnames = true
tags = {
Name = “${var.cluster_name}-vpc”
}
}
# Data source for Availability Zones
data “aws_availability_zones” “available” {}
# Create Subnets resource “aws_subnet” “example_subnet” { count = length(var.subnet_cidr_blocks) vpc_id = aws_vpc.eks_vpc.id
cidr_block = var.subnet_cidr_blocks[count.index] availability_zone = data.aws_availability_zones.available.names[count.index]
tags = {
Name = “${var.cluster_name}-subnet-${count.index}”
}
}
# Create an EKS Cluster resource “aws_eks_cluster” “eks_cluster” { name = var.cluster_name
role_arn = aws_iam_role.eks_role.arn
vpc_config { subnet_ids = aws_subnet.example_subnet[*].id
}
}
# IAM Role for EKS resource “aws_iam_role” “eks_role” { name = “${var.cluster_name}-role”
assume_role_policy = jsonencode({
Version = “2012–10–17”
Statement = [
{
Effect = “Allow”
Principal = {
Service = “eks.amazonaws.com”
}
Action = “sts:AssumeRole”
}
]
})
}
# Attach EKS Managed Policies to the Role
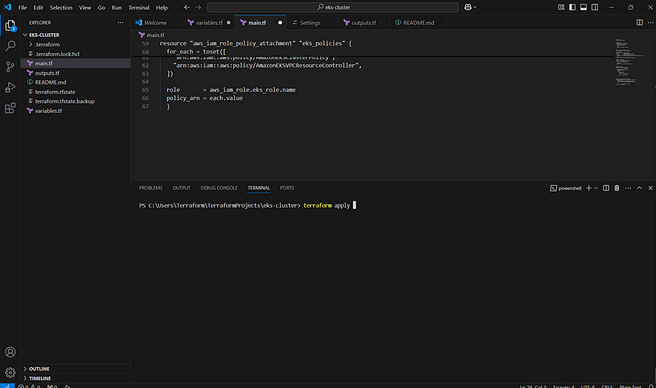
resource “aws_iam_role_policy_attachment” “eks_policies” { for_each = toset([
“arn:aws:iam::aws:policy/AmazonEKSClusterPolicy”,
“arn:aws:iam::aws:policy/AmazonEKSVPCResourceController”,
]) role = aws_iam_role.eks_role.name policy_arn = each.value
}
output.tf
output “eks_cluster_name” { description = “Name of the EKS cluster” value = aws_eks_cluster.eks_cluster.name
} output “eks_cluster_endpoint” { description = “EKS Cluster endpoint”
value = aws_eks_cluster.eks_cluster.endpoint
}
output “eks_cluster_arn” { description = “EKS Cluster ARN” value = aws_eks_cluster.eks_cluster.arn
}
variable.tf
variable “aws_region” { description = “AWS region to deploy resources” default = “ap-south-1”
} variable “cluster_name” { description = “Name of the EKS cluster” default = “geeta-eks-cluster”
}
# VPC CIDR block for the newly created VPC variable “vpc_cidr_block” { description = “CIDR block for the VPC” default = “10.0.0.0/16”
}
# Subnet CIDR blocks for the VPC variable “subnet_cidr_blocks” { description = “List of CIDR blocks for the subnets” type = list(string) default = [“10.0.1.0/24”, “10.0.2.0/24”]
}
# (Optional) VPC ID if you want to specify an existing VPC variable “vpc_id” { description = “ID of the VPC where subnets will be created” type = string default = “”
}
Step 4. Execution Steps
Initialize Terraform:
terraform init — This command initializes the Terraform configuration files, setting up the backend, provider plugins, and preparing the working directory.


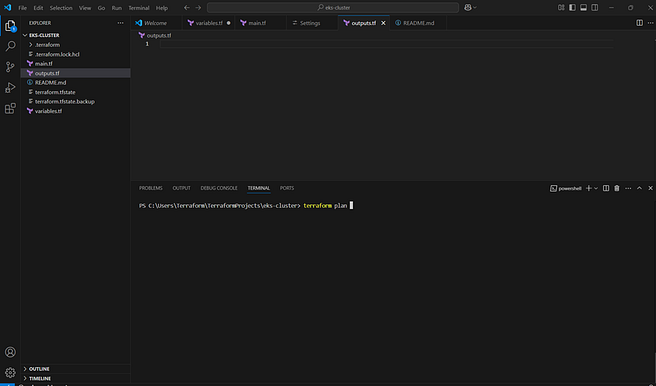
terraform plan — This command creates an execution plan, showing what Terraform will do to achieve the desired state defined in the configuration.
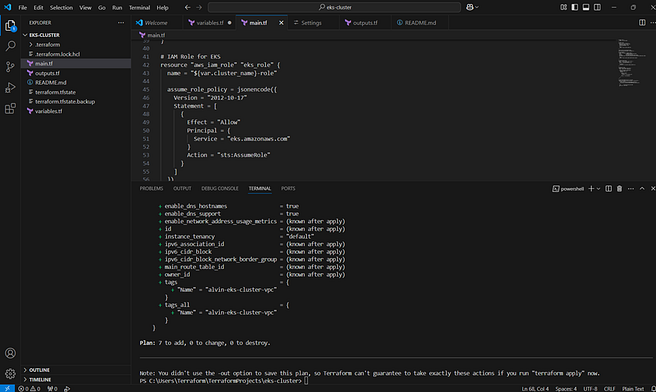
Before executing the terraform apply command, I retrieved and reviewed the EKS output.
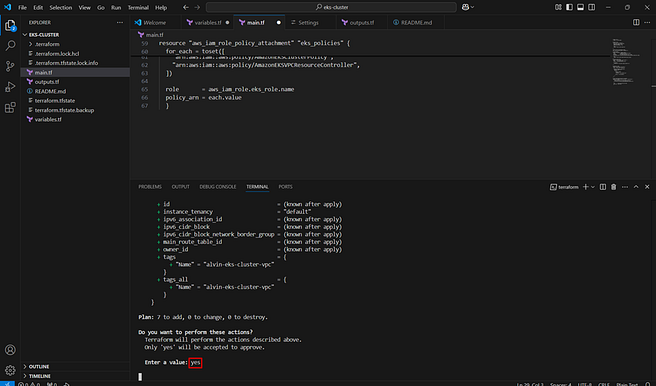
terraform apply — This command applies the changes required to reach the desired state of the configuration by creating, updating, or destroying resources.

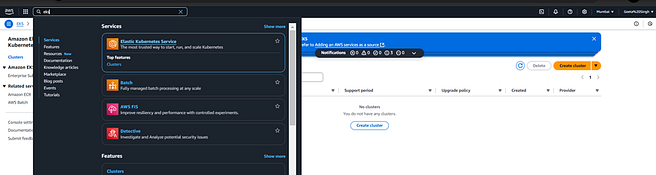
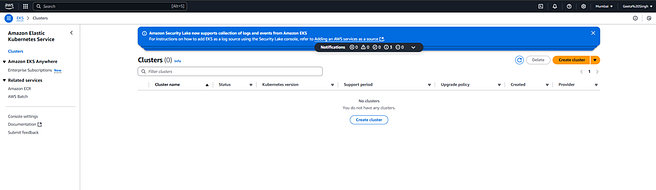
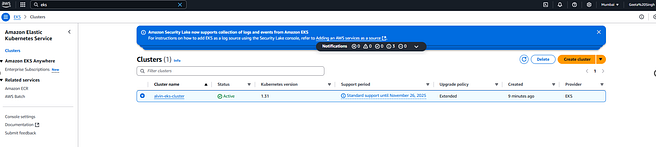
To validate the EKS cluster:
1. Navigate to the **Amazon EKS console**.
2. Review the cluster’s status and configuration details to ensure it has been created successfully.
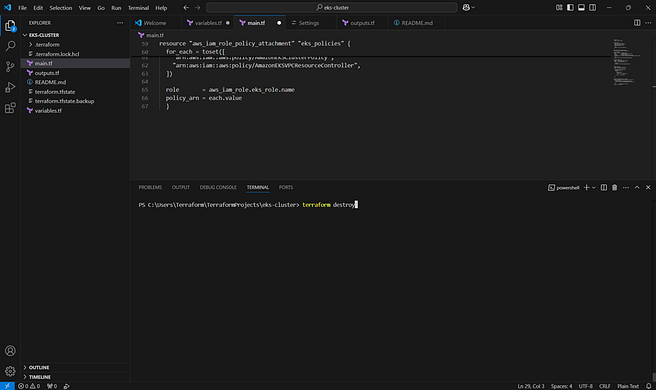
To destroy the resources:
1. Run the following command:
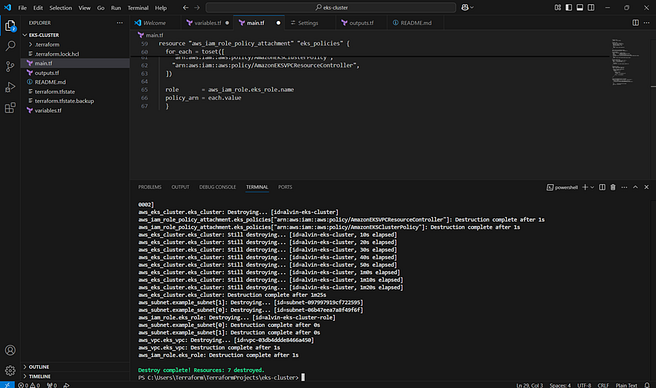
terraform destroy — is used to delete all resources managed by Terraform in the current configuration to clean up and stop incurring costs

Conclusion
This setup provides a robust and adaptable framework for deploying a secure and scalable EKS cluster on AWS. It not only simplifies infrastructure management through Terraforms automation but also supports customization to align with unique project requirements. By leveraging modern DevOps practices and cloud-native principles, this approach ensures efficiency, reliability, and ease of maintenance. Embrace this solution as a solid stepping stone towards achieving your cloud infrastructure goals and enhancing your operational workflows.


Leave a Reply